Embossing Resist
by Beate Johns
copied from
Splitcoaststampers
Emboss images on light colored card stock, then apply darker ink to make them "pop".
Supplies
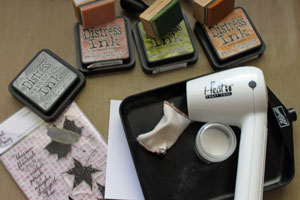
- Embossing ink
- Clear embossing powder
- Embossing Buddy
- Heat tool
- Powder tray, or paper to catch embossing powder
- Stamps (Sweet 'n Sassy Stamps Season of Change used here)
- Light colored cardstock
- Waterbased Dye Ink darker then your cardstock color ( Wild Honey, Tattered Rose and Peeled Paint Distress Inks used here)
- Blending Tool,Sponge, Stipple brush or sponge brayer
- Paper towel
Step-by-Step
Step 1
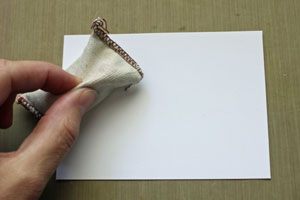
Rub Embossing Buddy over entire piece of cardstock.
Step 2
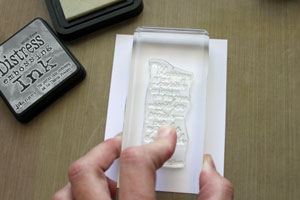
Ink stamp with Embossing Ink and stamp on cardstock.
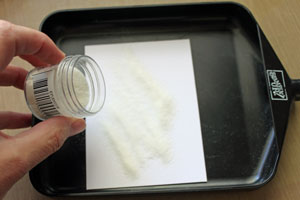
Step 3
Pour embossing powder over stamped image, making sure everything's completely covered.
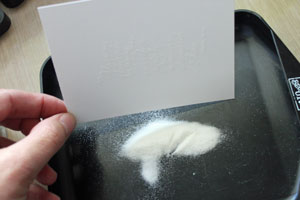
 Step 4
Tap excess powder off. Collect remaining powder in either the Powder tray or on a piece of scrap paper and pour it back into the container.
Step 4
Tap excess powder off. Collect remaining powder in either the Powder tray or on a piece of scrap paper and pour it back into the container.
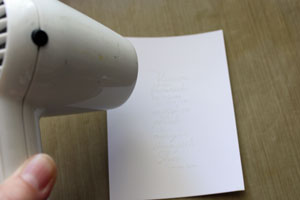
 Step 5
Heat powder with heat tool until it melts into a shiny cover. Let cool.
Step 5
Heat powder with heat tool until it melts into a shiny cover. Let cool.
 Step 6
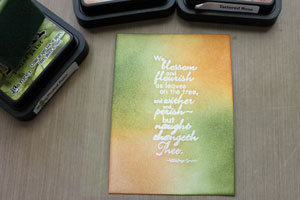
Sponge ink over your cardstock. You can also use a stipple brush or the sponge brayer for this step.
Step 6
Sponge ink over your cardstock. You can also use a stipple brush or the sponge brayer for this step.
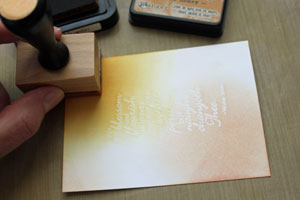 Cover your entire piece of cardstock.
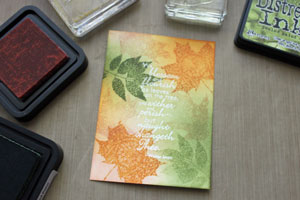
 Step 7 (optional)
To add more depth to the stamped images, try adding more in the same color used for sponging.
Step 7 (optional)
To add more depth to the stamped images, try adding more in the same color used for sponging.
 Step 8
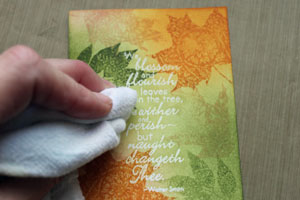
Use a paper towel or rag to buff ink off embossed images. The embossed images will resist the sponged ink.
Step 8
Use a paper towel or rag to buff ink off embossed images. The embossed images will resist the sponged ink.
 Step 9
Finish your card.
Pin It Now!
Step 9
Finish your card.
Pin It Now!
No comments:
Post a Comment
I'm constantly striving to improve my blogging and card making skills so I really appreciate any comments/suggestions that you'd like to share. Thank you for stopping by, have a great day!