Stained Glass Tutorial
by Beate Johns
copied from Splitcoaststampers.com
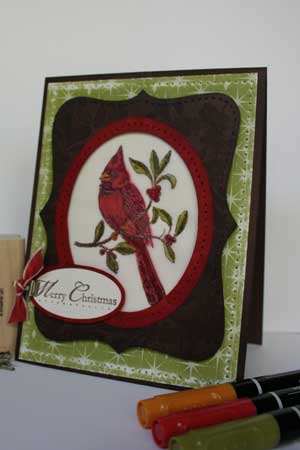
Bring the beauty of stained glass to your papercrafts, without the special tools.
Supplies
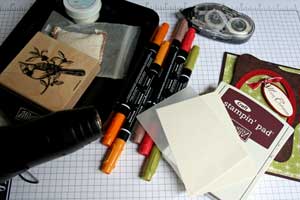
Outline image stamp
Vellum paper
Dark pigment ink
Clear embossing powder
Embossing buddy
Heat gun
Markers
Neutral colored card stock
Adhesive
Step-by-Step
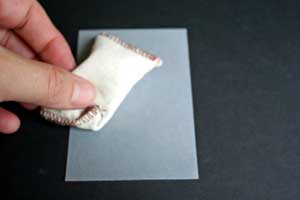
Step 1
Rub embossing buddy over vellum. This will help keep embossing powder where it belongs-on the stamped image.
Step 2
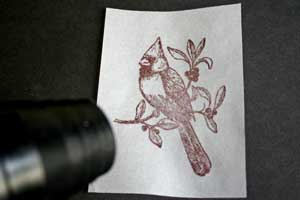
Stamp image in dark pigment ink on the vellum
*Alternative-(how I do it)-stamp image in Versamark ink on the vellum
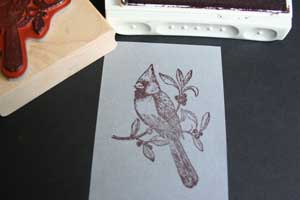
Step 3
Pour clear embossing powder over the image and tap off the excess powder.
*Alternative-(how I do it)-instead of pouring clear embossing powder over the image pour white embossing powder
Step 4
Heat powder until it melts.
Hint-If you're using vellum paper, the paper will curl a bit.
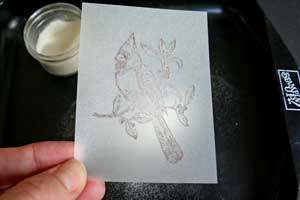
Step 5
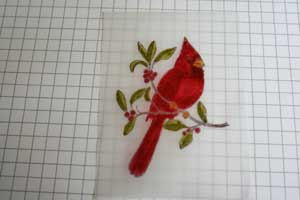
Flip velum over and color the back of the image with markers.
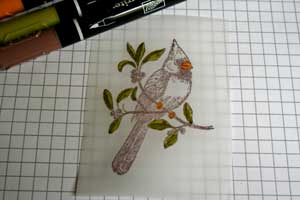
Color the entire image and let dry.
Step 6
*NOTE-I omit this step. I just cut the image out and attach it to my project
Adhere the vellum piece to neutral card stock, making sure the embossed side faces up.
Place adhesive where it won't be seen later. It can be hidden behind ribbon or a card stock window.
Alternative-instead of adhesive, use brads or just ribbon to secure the vellum to the neutral colored card stock
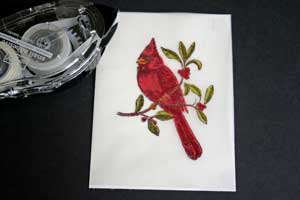
Step 7
Finish your card
Pin It Now!
by Beate Johns
copied from Splitcoaststampers.com
Bring the beauty of stained glass to your papercrafts, without the special tools.
Supplies
Outline image stamp
Vellum paper
Dark pigment ink
Clear embossing powder
Embossing buddy
Heat gun
Markers
Neutral colored card stock
Adhesive
Step-by-Step
Step 1
Rub embossing buddy over vellum. This will help keep embossing powder where it belongs-on the stamped image.
Step 2
Stamp image in dark pigment ink on the vellum
*Alternative-(how I do it)-stamp image in Versamark ink on the vellum
Step 3
Pour clear embossing powder over the image and tap off the excess powder.
*Alternative-(how I do it)-instead of pouring clear embossing powder over the image pour white embossing powder
Step 4
Heat powder until it melts.
Hint-If you're using vellum paper, the paper will curl a bit.
Step 5
Flip velum over and color the back of the image with markers.
Color the entire image and let dry.
Step 6
*NOTE-I omit this step. I just cut the image out and attach it to my project
Adhere the vellum piece to neutral card stock, making sure the embossed side faces up.
Place adhesive where it won't be seen later. It can be hidden behind ribbon or a card stock window.
Alternative-instead of adhesive, use brads or just ribbon to secure the vellum to the neutral colored card stock
Step 7
Finish your card
No comments:
Post a Comment
I'm constantly striving to improve my blogging and card making skills so I really appreciate any comments/suggestions that you'd like to share. Thank you for stopping by, have a great day!