Salt (coarse or kosher salt works best, but regular table salt will do just fine)
Heat tool (optional)
Step-by-step
Step 1
Press the lid of your dye ink into the pad OR squirt a few drops of re-inker into the lids of your stamp pads
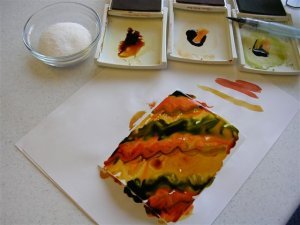
Spritz the glossy cardstock with the water using your spray bottle.
Using the Aqua Painter, pick up some color and smear it on the cardstock. Repeat with the other colors. You can do squiggles, lines, swirls, or spots of color.
Step 2
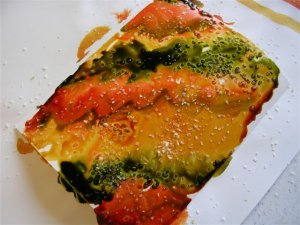
Sprinkle the cardstock with salt, then spritz again with water. The colors will blend a little more now.
Step 3
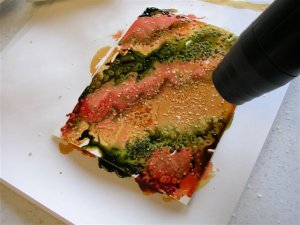
Allow your background to set up, either by air drying or by using a heat tool.
Next use your fingers or a paper towel to brush off the salt crystals. A slight haze of salty water will still remain on the cardstock, which you can now use as a fun background!
I'm constantly striving to improve my blogging and card making skills so I really appreciate any comments/suggestions that you'd like to share. Thank you for stopping by, have a great day!


sweet.. thanks for the great card technique idea:)
ReplyDeleteLove this card. Thanks for sharing. Best wishes from "down-under"!!
ReplyDelete